a Witch's Guide to Tanning Hides This is the third and final part of a ridiculously long post covering at home methods for tanning hides and leather. These methods are of particular interest to the witch due to their simplicity, great results, and fun use of questionable substances. Part 1 covered important terms and how to prepare a hide for tanning, part 2 explained how to tan hides with battery acid, and this post will cover how to tan hides using brains and smoke. Together, these mark the fifth installment on a 6 post series: Working with Zoological Remains -that is, the use of bones, feathers, wings, paws, and skulls in witchcraft. Previous posts include An Introduction to Working with Zoological Remains; Bone Collecting: How-to acquire Bones and Other Zoological Remains Regardless of Where you Live; Of Skull & Bone: Cleaning and Whitening; and The Joy of a Salt Box: Preparing Wing & Paw. The final installment of this series will focus on the actual use of zoological remains in witchcraft. Of course, while there is no one and true way to employ these sacred items within witchcraft, we will look at general techniques and methods, building off of the basic ideology that has been discussed throughout each of these posts. Tanning Hides with BrainsAnother option that you have is to use the brain of the animal as part of the tanning process. This is a really great option if you happen to go hunting yourself or have a friend who hunts and would be willing to give you the hide and head. Conveniently, the size of any animal’s brain provides the right amount needed in order to tan its hide. This makes it a very economical choice and is definitely one to consider for the magickal worker as it puts another part of that animal to good use. Taking those extra steps to ensure that as little as possible goes to waste is the least we can do when taking the life of another creature in exchange for the continuation of our own lives. This also pays the most respect to the spirit of that animal who -possibly, though not guaranteed- may decide to stick around, maintaining the connection to its remains and, thus, being able to aid you in your Work. With this method, the brain of the animal is not used for the actual tanning (though this method is commonly referred to as “brain tanning”) but is, rather, used to dress and soften the hide with smoke being used for the actual tanning. This particular method can be used to tan hides with the hair on or with the hair off. To contrast the previously discussed tanning method, the description below will involve removing the hair to produce smooth, clean leather. This method does also take longer than tanning with battery acid. A large hide, such as a deer hide, could realistically take just over a week from start to finish, but in the end you will have a buttery smooth piece of leather that you tanned yourself using entirely natural ingredients. That alone makes this a method to strongly consider. Removing the Hair Materials Needed
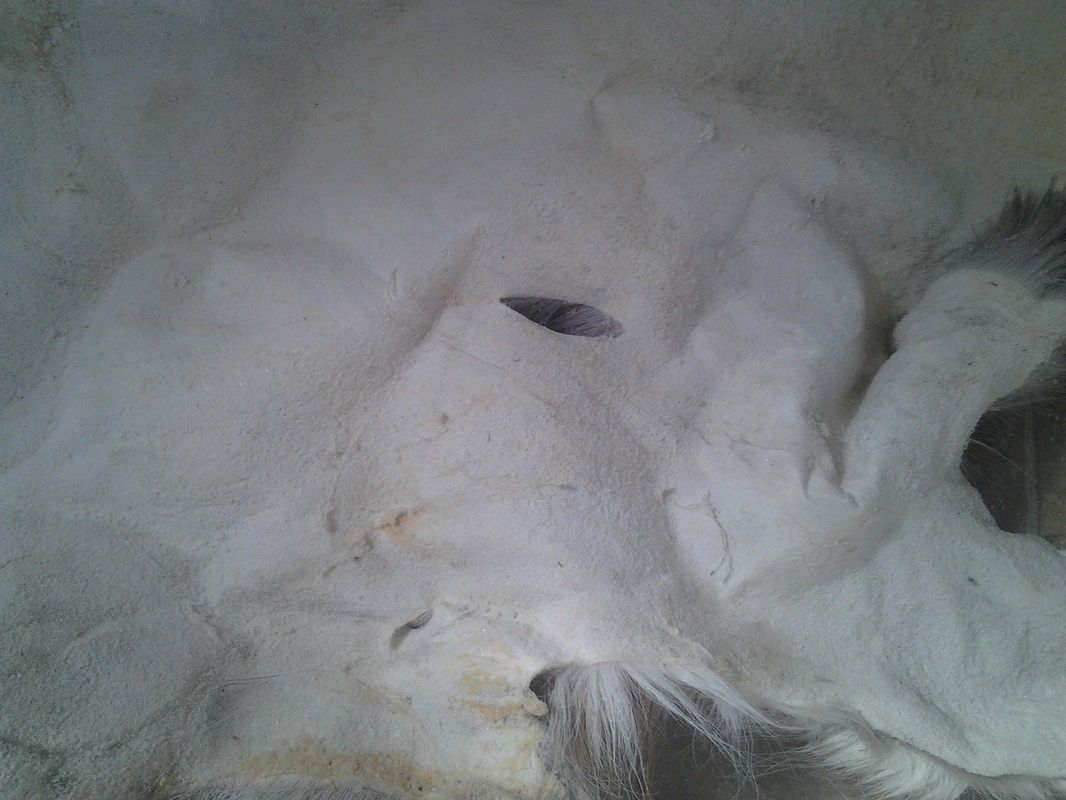
If you are working with a hide that you previously salted and dried, it will need to be rehydrated. Soak it in clean water to remove the salt and make the hide pliable again. If the hide is not soft and flexible, there is a very good chance that it will tear as you stretch it -leaving you with smaller pieces of hide to work with. Not only does this make the process a bit more difficult, but it also reduces the size of the finished piece of leather and reduces the options you have for using that leather. If you have a green hide, the only preparation is to flesh the hide (see part 1,) ensuring that there are no remaining bits of fat and/or tissue on the hide. For this method, once you have a fleshed and flexible hide it must be stretched. It’s ill advised to use a palette or to tack the hide to particle board or even to the wall in your garage for this method. This is because you need the hair side of the hide to be facing out (whereas it was facing in -or against the wall- in the previous method.) In order to get proper airflow some sort of a drying rack must be used. Luckily, you can make one by tearing apart old palettes or using some scrap lumber. For a large hide, like a deer hide or a coyote, a drying rack that can stand freely is ideal. I really wish I had picture examples here, but imagine a simple wooden frame, just a square standing upright. You would want heavier boards at the base of the frame, perpendicular to the sides of the frame and with angled supports to better hold the frame upright. Admittedly, this will take up some space and the hide, once hung on the drying rack, will need about a week to dry. It should also be in the shade and somewhere with good airflow, so being able to construct this in a garage, or shed, or even your basement would be ideal. And you can always aim a fan at the hide to assist the drying if the location is a bit too humid. So, once you have your drying rack (the making of which gives you an excuse to tan more hides, by the by…) it’s time to stretch the hide. To do this, bore holes into the hide about ½ inch in from the edge of the hide and spaced about 4 inches apart, running the full length of the hide. Now run the twine through one of the holes then wrap it around your drying rack and through the next hole; tie the loose end of the twine to the rack. Obviously, you’ll need a free length of twine for this, not to be trying to thread the twine through the hide while it’s still attached to the spool. Continue until you’re back where you started. The hide needs to be hung taunt and wrinkle free, so going around and tightening the twine in places is a good idea. Be sure that the you don’t stretch the hide too tightly or else it will tear as it dries. It needs to be smooth, not sagging and without wrinkles, but it needs to be a gentle stretching that just keeps the hide from shrinking too much as it dries. Once the hide is dry, you’ll scrape the hair side much the same way as you scraped the skin side while fleshing it. You can use a fleshing tool, dull knife, or even make a scraper using a curved bone, stone, or elk antler (deer antlers are a bit too narrow, it makes them weaker so you’d have to be more careful if you tried to make one -both while smoothing it prior to use and while using it.) Work against the grain of the hair until it’s all removed. The skin will have a peppery look to it now. These are the hair follicles still stuck in the epidermis. This layer of the skin and the follicles needs to be removed, which means more scraping. Work slowly and carefully. If you scrape too hard at this stage, you could tear the skin. Keep in mind that the skin is naturally thinner along the belly skin and legs but will be thicker along the back. Vary how hard you press based upon where you are but be careful not to press too lightly or this step will take hours to complete. Working in sections that are about six by six inches in size is recommended. Work that section until the skin gets fluffy -like suede leather. Focus on the middle section of the hide, leaving a buffer of a good three inches around the holes. Go back to those areas when you’ve finished the rest of the skin so you can focus more carefully. Softening the Skin Materials Needed
To get the brain of the animal, the skull must be cracked open. Unfortunately, this ruins the possibility of cleaning and keeping the skull, but you can still salvage the teeth and crush down the remaining bone pieces for use in powders, incense, or compost. You could also use pieces of the skull for jewelry or inscribing sigils on with which to decorate your shrine or workbench. There are a lot of possibilities for those bone fragments. Give them a good look over, ask your spirits and Gods if They want any of the pieces, and then start crafting! Place the brain into the old pot or coffee can and add enough water to keep it from burning to the bottom; for a large skin, like a deer hide, 2 cups of water is the most that will be needed. Cook the brain until it breaks down, leaving you with a soupy mixture. Allow the mixture to cool slightly and then mash it up so that there are no brain chunks, just a creamy mixture. A few small chunks are okay, but as few chunks as possible is ideal and will be the most effective. As you horrify your housemates with a brain cooking on the stove, take the skin down from the drying rack. Give it a good rinse with warm, but not hot, water to make it soft and pliable again. This enables the skin to better absorb the oils within the brain mixture. Once the skin is flexible, remove as much of the water as possible by squeezing it and blotting it with towels. Now comes the messy fun. I advise doing this next step either outside, in a room where you can spray the floor down, in your bathtub, or on a tarp. It will be messy. You cannot make it not messy. Lay the skin flat and rub the brain mixture into the hide. You could use an old paint brush, rag, or sponge for this step, but you will really get the best results by using your hands so you can really rub the mixture into the skin and be sure that not a single inch of the skin has been missed. Be sure that you rub the mixture into both sides of the skin. Now, roll up the skin and place it into either the garbage bag or zip-close bag, depending upon the size of the skin. Let the skin sit for a good day -over night at the very minimum. The hide doesn’t need to be stored in any particular way, though you should be sure that it isn’t somewhere your dog, cat, or any scavengers could get to. One option is to place it in your refrigerator, which is also a great idea if you’re worried about any weird brain smells wafting through your house. But, honestly, you just rubbed a cooked brain into an animal skin: if the idea of occasional odd brain smells makes you cringe well… I really just don’t know what to say to that. After enough time has passed, remove the skin from the bag and return it to the drying rack. Clean off the brain mixture as thoroughly as possible. Grab your hide breaking tool or rounded stick; it’s time to finish softening the hide. Work the tool or stick back and forth across the entire skin until it is noticeably warm to the touch. This will also dry the hide. In the end, the skin will be soft and sort of fluffy. At this point do not let the skin get wet or it will turn back into rawhide once it dries -defeating the work you just went through. Tanning the Skin Materials Needed
This is the final step and the actual tanning is done using smoke. Essentially, you’re going to dig a hole, start a fire in the hole, and suspend the skin over the fire to catch the smoke. To begin, you’ll need to sew the hide together along three sides to create a pouch, leaving the neck side open so it can catch the smoke. Now, dig your hole. The hole should be around a foot in diameter and at least 6 inches deep, but no more than a foot. You need to suspend the skin over the hole so placing it near a tree (for large skins) or having one of those camping tripods for cooking (for smaller skins) will be helpful. Depending on the size of the hole, you could easily tan a few smaller skins this way at the same time. Start a fire with the hardwood and allow it to burn down to coals. Now place the punky wood onto the coals. They should start smoking fairly quickly. Suspend the skin-pouch over the hole and leave it there until it begins to noticeably change colors, at which time you’ll want to take the skin down, turn it inside out, and suspend it over the hole again. It should take about 30 minutes to an hour for each side. Once the second side has changed color, you can take down your freshly tanned leather and put out the coals. Undo the stitching and carefully wash the leather in soapy water. This will remove any soot or ash that may have gotten onto the leather while tanning. Gently blot the leather with towels. Now, finish plotting how you’ll use this gorgeous piece of leather you tanned yourself. Ready to Take it Further?
Comments are closed.
|
Throwing the BonesStay ConnectedThank you!You have successfully subscribed. Archives
January 2023
|


