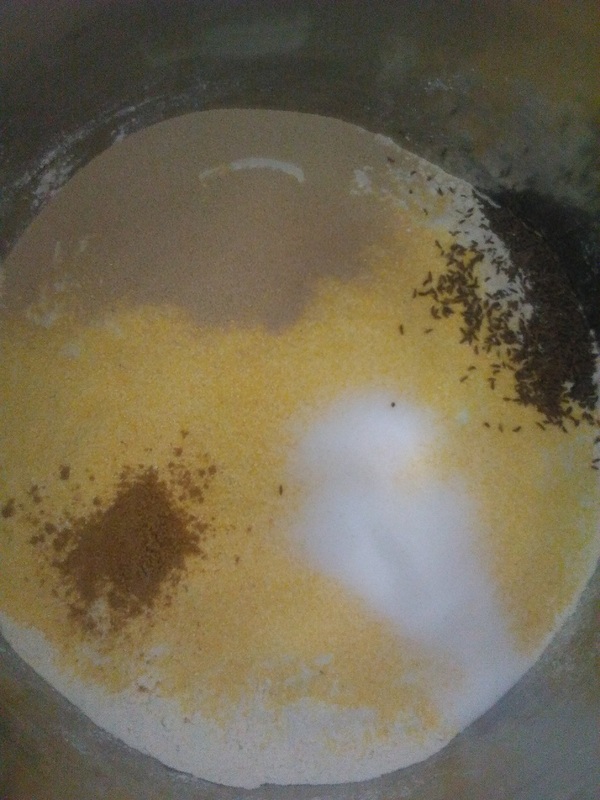
 One of my greatest obsessions lately has been baking bread. It is one of those odd domestic activities that is deeply satisfying and imparts a discernible feeling that all is right and well in the world. Whether or not everything is right and well is another thing altogether, but a fresh loaf of bread that you baked yourself as part of a meal brings a profound sense of comfort and security. As it is August Eve and time to celebrate the beginning of the grain harvest, I am sharing this bread recipe so that you, too, may enjoy the comfort that baking bread brings. From the feeling of being in touch with older times when all was made at home and from scratch to the satisfaction of a belly full of good food, I hope this recipe brings you as much comfort and joy as it has been bringing me. This is a no-knead bread that takes about 4 1/2 hours from start to finish. It is really simple in that you mix the ingredients together, let it rise, let it chill in the fridge, and then bake it. Excess dough is stored in the fridge to be used within a week. The recipe makes 4-6 loaves and can be made on a flat pan, baking stone, or in a bread pan. Lammas Bread Recipe9 3/4 cups Flour 1 1/2 TBS Salt 2 1/4 TBS Yeast 5 cups Warm Water For flour, you can use all purpose, whole wheat, or a blend of flours. I typically use all purpose flour as I can get it in 50lb bags and make bread dough once or twice a week (my brood of monsters are ravenously hungry lately!) In the bread dough I've got rising right now for Lammas, I've used 8 cups all purpose flour and 1 3/4 cups corn meal, adding also about two teaspoons Cardamom and 1 1/2 teaspoons Caraway Seeds (mostly for a little oomph for Lammas and because the Caraway Seeds will look pretty when it's finished.)
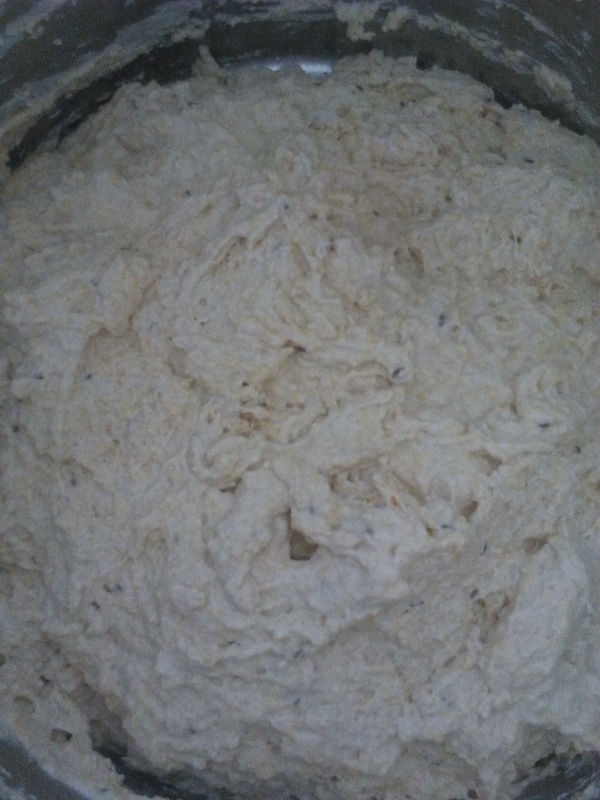
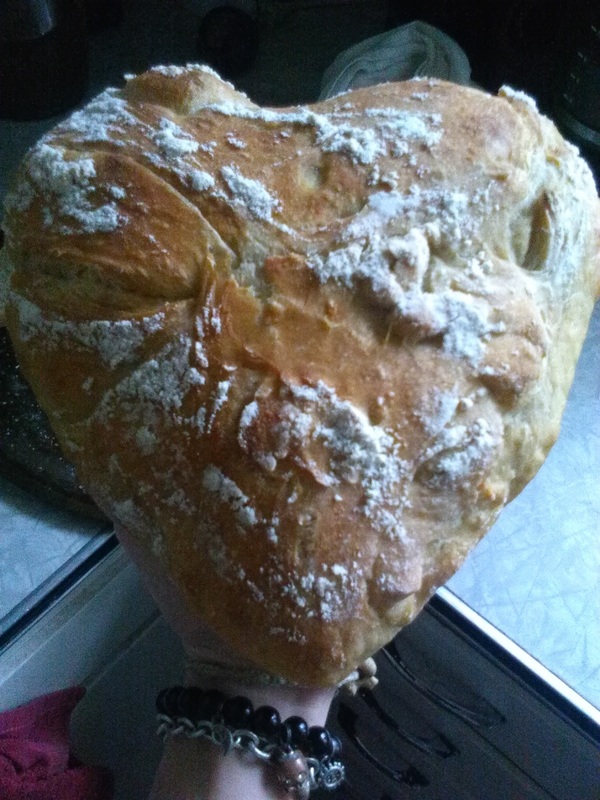
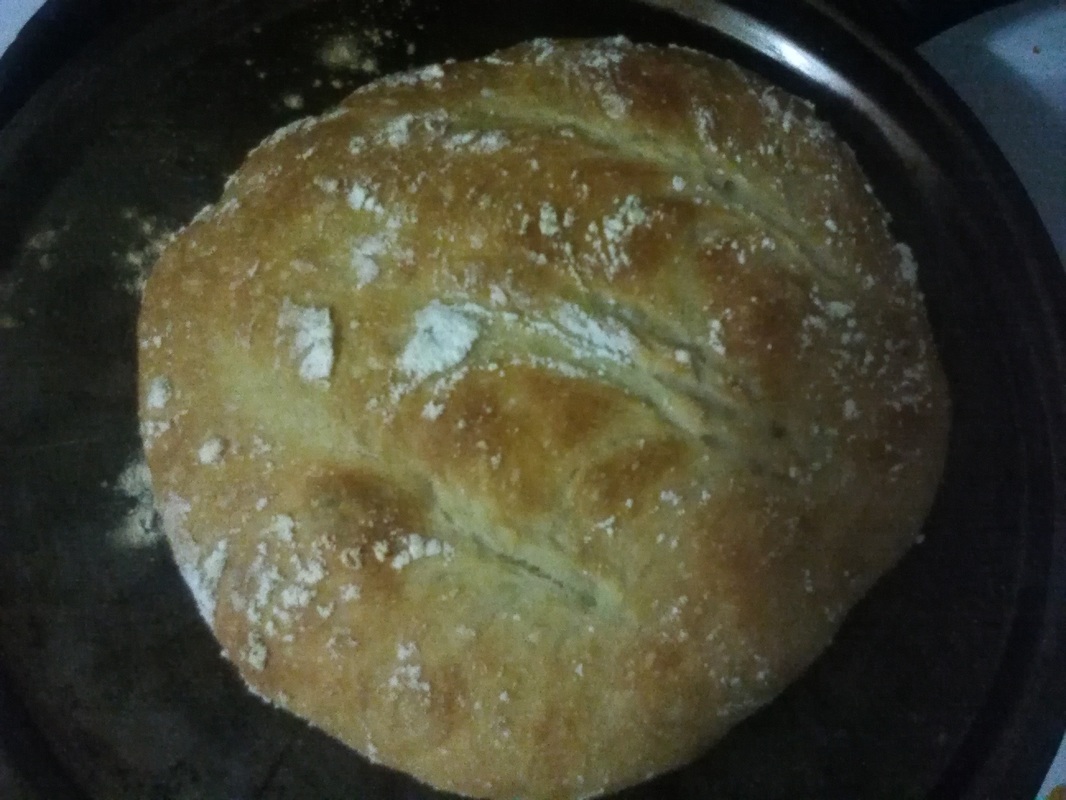
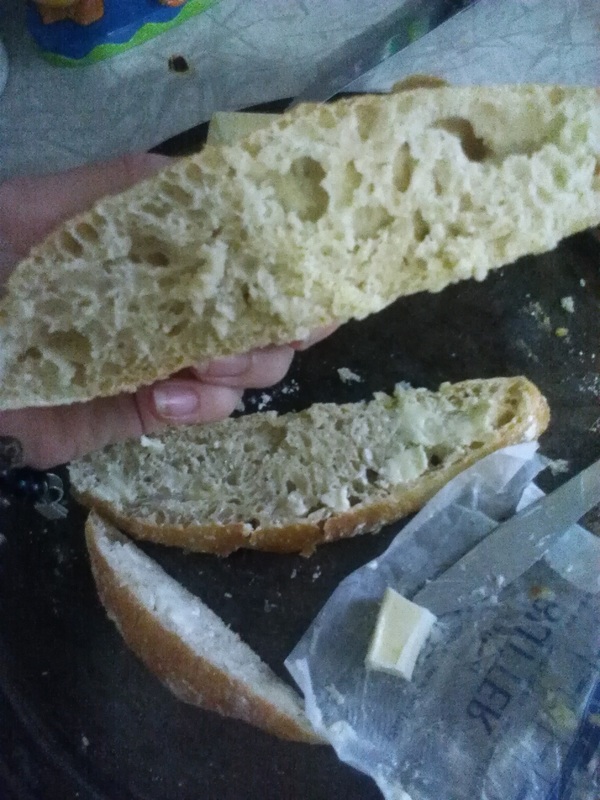
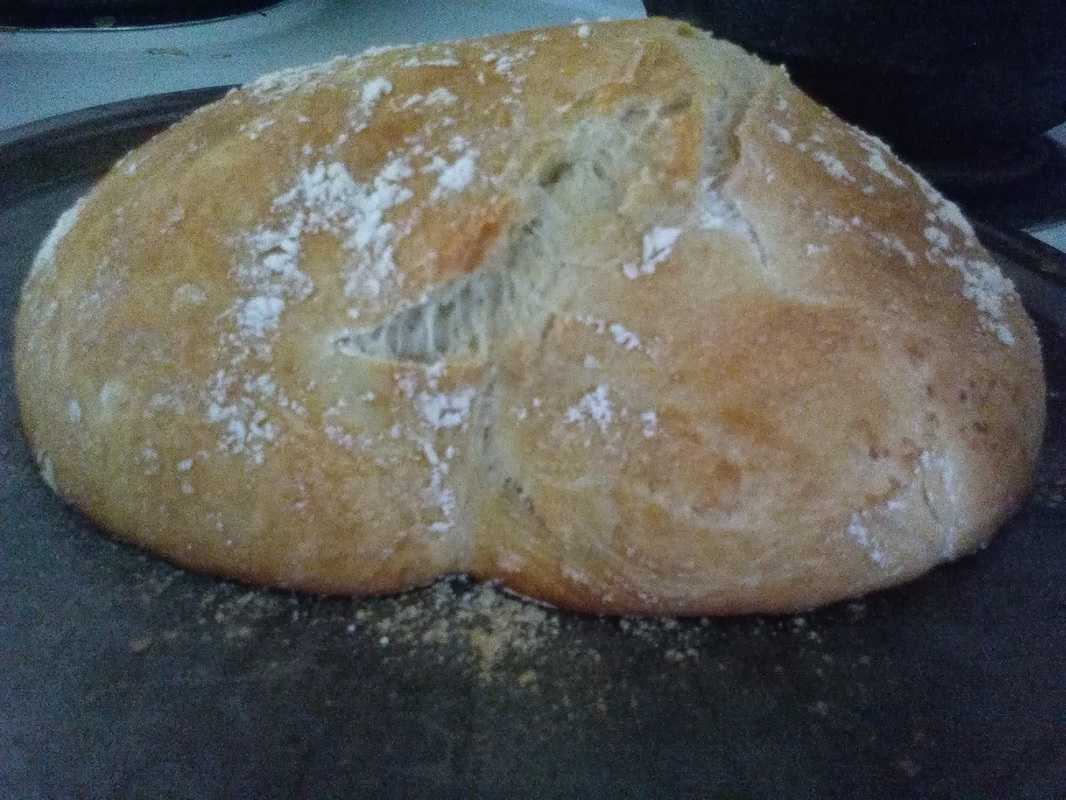
Be sure to make the dough in a large container or pail, as the dough will rise to at least thrice its size. Mix together the dry ingredients and then add the water. The water should be about the same temperature as you would take a bath in -not so hot that it hurts, but fairly warm. Cover with a cloth and allow to rise for two hours. Then place in the fridge for at least two hours. At this point, you can bake your bread whenever -so long as it's within a week. The dough does take on a slightly sour note the longer you wait and the finished bread is denser. I prefer bread made from dough that's sat 2-3 days because of the texture and density. When you're ready to bake, dust your work surface with flour. Dust the top of the dough with flour, too. Lightly grease the pan you'll be baking it on/in and grease your hands, too, to make it easier to grab the dough without getting it stuck to you (because it will be really sticky.) Pull off a good bit of the dough, think about the same size of a softball. I make my loaves on the large side, big family, so I usually pull off a hunk of dough probably twice that size. Larger loaves like that are better made in a bread pan and not on a flat pan or baking stone. Place the dough onto the flour surface and roll it about so that it's evenly coated in flour. Don't worry about kneading. Just get the dough shaped roughly in a circle or oval and place it on or into the pan. Dust the top of the loaf with a bit of flour. Allow the bread to rise. This takes anywhere from 1-3 hours, depending upon the temperature in your home. The bread won't rise so much as it seems to get larger and sort of settle. You'll see this more dramatically in bread baked on a flat pan. You can always cheat and set the bread on top of your stove while the oven preheats. The oven should be set to 450 degrees. Bake for 20-25 minutes. The top will have a lovely golden brown color to it when done. Allow it to cool before serving. Even though you'll want to eat it right away, it's much easier to cut once it's had a chance to cool. And that's it! Ridiculously easy home baked bread. Blessed Lammas from my family to yours!
Flo Ramos-Dumont
8/2/2016 11:00:33 am
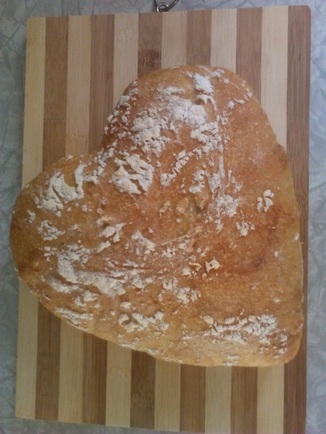
That looks absolutely delicious. And adorable as a heart! 💖 Gonna try it as soon as my kitchen drain is fixed tomorrow!! Thanks!! Blessed be! ;)
Althaea
8/2/2016 11:42:46 am
Thank you so much! The few loaves I've made so far with the cornmeal have turned out wonderfully -little denser, though. I bake probably half the bread I make in that heart pan. lol Comments are closed.
|
Throwing the Bones
Stay Connected

Archives
January 2023
|